


Today I have a special sweet for you...I would like to introduce you to "To Sew With Love", She has a wonderful tutorial for you and some great treats... Check her out and give her some "love"!!!!
Hi, everyone! I am Lelanie, one of the 3 "L"adies behind

I am really excited to be guest posting for Suze today. I hope you don't mind if you don't get your daily dose of Suze's craftiness since I'd invade for a while her space ^^)
We love sharing our crafting and sewing adventures (and misadventures ^^). Just recently, we have shared tutorials such as these:


We also host giveaways sponsored by our lovely sponsors, a Crafty Saturday Link-up Party, features on our favorite Etsy shops, and handmade love post.
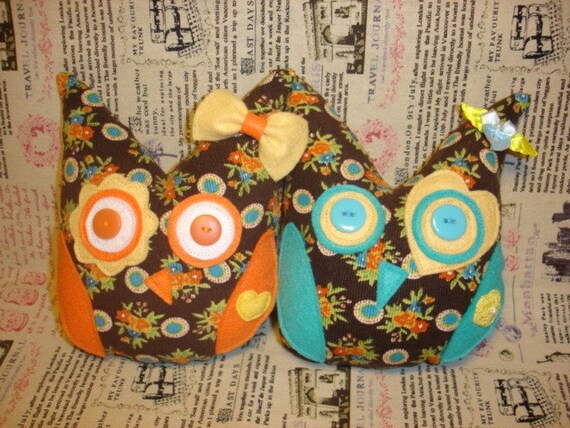
Today, I will be sharing with you a quick tutorial for my owl plushie. I have already made lots of them.

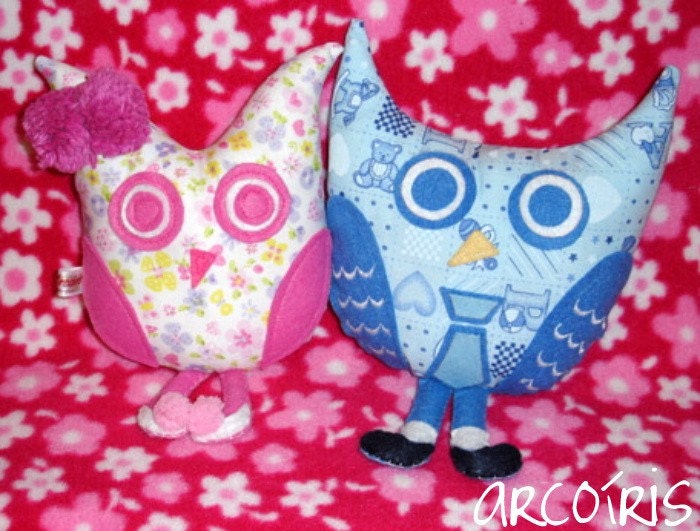
I also have some for sale in my Etsy shop:
I'm sure you wanna make some, right? Well, first and foremost, you'll need to print this downloadable pattern.
Now that you have printed your pattern, go cut the pieces we need:
Two pieces for your owl's body

Felt for the eye pieces, beak, buttons for the eyes (do not use buttons if you're making it as a baby's toy)

Wings, embellishments (optional)

Using iron-on adhesive like bonda-web, fix each piece on one of your owl body's fabric by following the manufacturer's instructions so it would keep in place as we sew each piece on.

However, that step is optional. If you don't have iron-on adhesive, you can still do this project by pinning each piece before sewing it on or just sew it without pinning at all ^^)

Sew your owl's wings and the embellishment.

Try to set your machine's velocity to the slowest if you'd like to have nice stitches.

Sew on your eye pieces.


So far, we have this:

Now, sew on the other eye and don't forget the beak! ^^)

Sew on your tag if you have one.

Pin both fabrics together, right sides together.

Sew straight stitches 1/4" away from the edge, leaving 2" unsewn so you could turn your plushie later.

You could also sew zigzag stitches to prevent the edges from fraying.

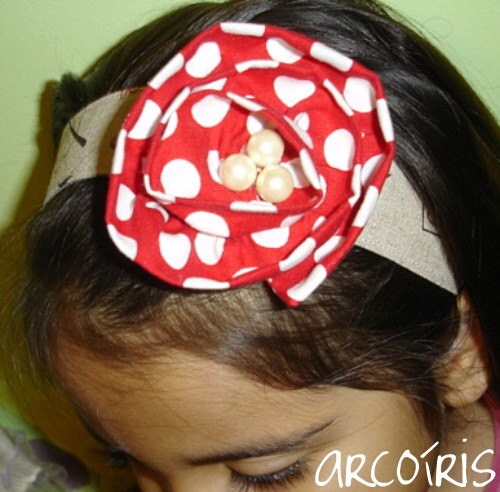
Turn it inside-out. You can add hair accessories for your owl, too! ^^)

Fill it with polyfill and sew close the opening by hand.

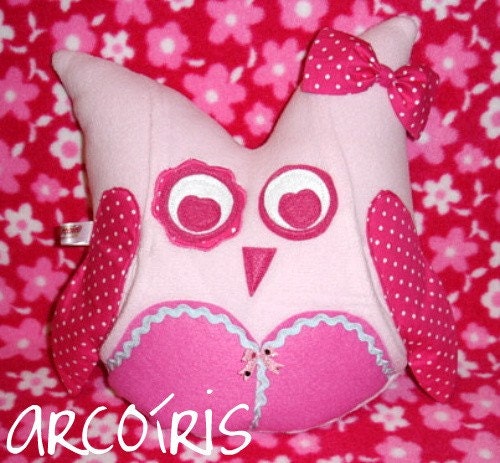
You now have a cute owl plushie. ^^)

Here are some of the other owl plushies I've made:


I hope you liked this tutorial. And do check our blog for more tutorials and free patterns.

Thanks a lot, Suze, for having us here today. We really enjoyed it!
Hugs,


Thank for coming by Lelanie, It was nice having you over :)


3 Lovely Note(s):
New follower here, number 200!! I hope you'll follow me back!
Very cute stuff! Thanks for sharing Suze and Lelanie!!
awesome! need to9 sew a chef hat for my son
Post a Comment